Project Portfolio
Updated 7 September 2025
SAE Baja - CWRU Motorsports
Frame/Chassis Lead
2025-Present
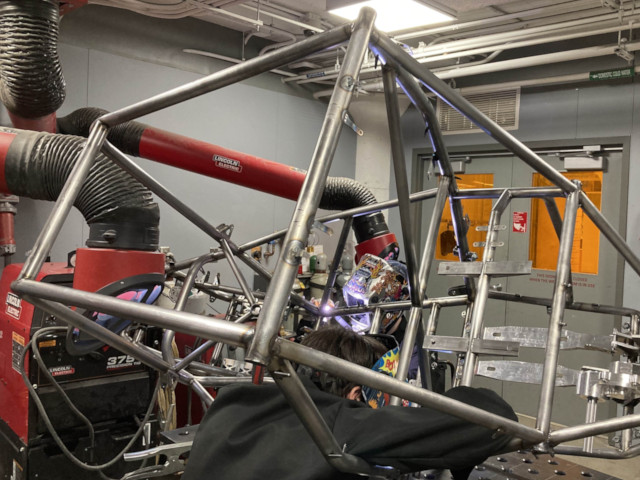
During my four years at Case Western Reserve University, I have been active with CWRU Motorsports with a particular focus on the frame/chassis team. On my fourth year, I became the frame/chassis team lead where my responsibilities include creating CAD for the steel roll cage weldments, delegating welding fixture designs to team members, providing guidance to newer members learning how to weld, and scheduling times for the team's welders to manufacture the frame.
One of my goals for this year is to perform more NDT inspections of our welds. We have acquired a dye penetrant inspection kit per ASTM E1417, and plan to use it to inspect our roll cage members for surface defects. Additionally, we can use the kit to test our aluminum welds performed on our transmission and drivetrain shrouding.
RF Engineering Lead
2023-Present
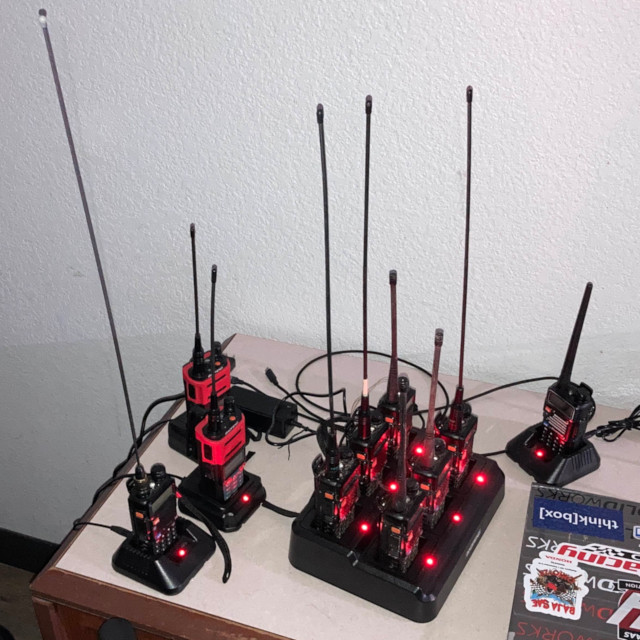
Prior to my involvement in CWRU Motorsports, there was no dedicated RF Engineering team; a small "data acquisition" (DAQ) team handled all of the electronic systems on the car. As more electrical systems were added to the car and the size of the DAQ team grew, my experience in amateur radio allowed me to become the lead of a new specialty subteam: RF Engineering. Prior to this, radio communication with the car was often an afterthought for the overburdened DAQ team. This led to the system being very unreliable and would never remain functional by the end of a competition's 4-hour endurance race. Through the creation of a dedicated radio engineering specialty team, I designed a resilient and dependable radio system which, for the first time in team history, survived through multiple 4-hour endurance races.
See below for a custom antenna I made for the team.
Chassis and Roll Cage Manufacturing
2022-Present
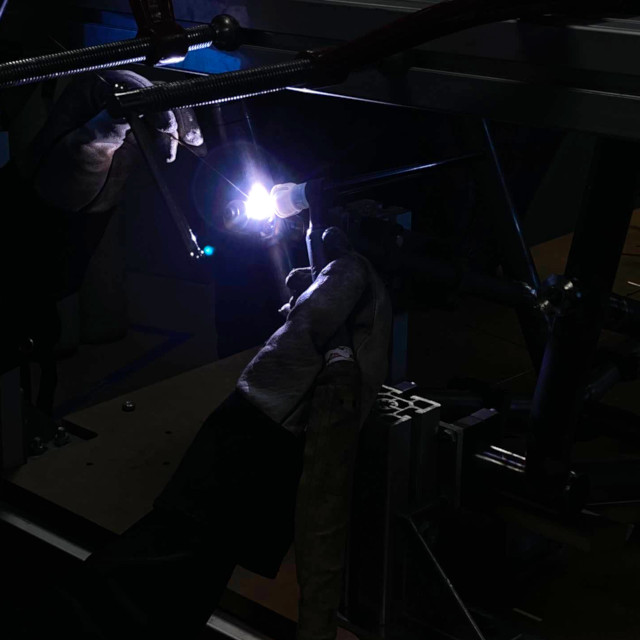
The chassis is the single-largest component on any Baja car consisting of dozens of feet of bent, cut, and welded steel tubing. During my freshman year, I learned to TIG weld thin-walled steel tubing and passed the required SAE Baja Welding Process Check welding samples. As an experienced member of the frame subteam, I lend my efforts towards welding on the car and teaching newer members of the team the process for creating tube drawings, bending tubes, cutting round notches in the ends of the tubes to-fit, and providing guidance for students learning how to weld proficiently.
Since SAE Baja is a collegiate design series, our team sees an incredibly high turnover rate with Seniors graduating and new students joining each year. This can lead to some difficulties with training new welders each year. As a safety critical feature on the car, the tubular steel roll cage which comprises the car's chassis requires a serious amount of process control during welding. Before a team member can weld on the car, they are required to pass a pair of weld tests per B.3.2.15 "Welding Process Check" of the SAE Baja rulebook. It takes a considerable time investment for new students to learn how to weld proficiently for the team, especially when they are full-time University students. Despite this, we encourage new members to seek guidance from more experienced welders on the team to quickly learn how to improve.
Suspension Control Arm Manufacturing
2023-Present
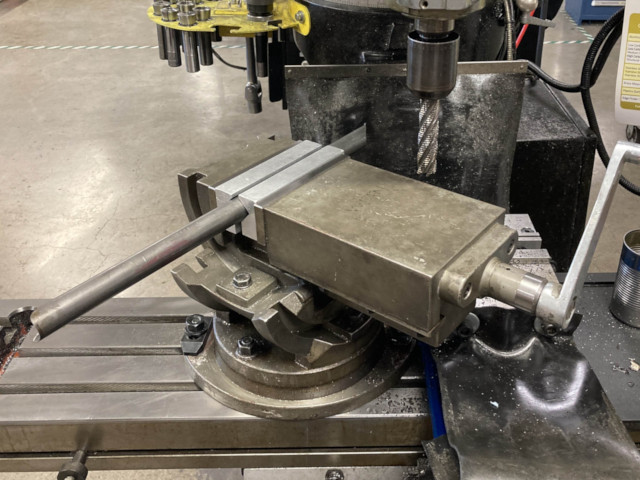
While the bulk of the suspension control arm design is performed by the suspension sub-team, much of the manufacturing is performed by the frame subteam after the chassis is completed. Much of the manufacturing processes for the control arms is identical to the manufacturing of the vehicle's frame: creating drawings, cutting steel tubing to-fit, and welding the components together.
Amateur RadioReturn to top

Amateur Extra License AK6AW
April 2023
With guidance from the Case Amateur Radio Club W8EDU, I got my first ham radio license in January 2023. I took the exams for the Technician class and General class licenses at the same time, passing both. This granted me operating privileges on some portion of all the US amateur radio bands. However, I was not personally satisfied until I earned the highest available license for US amateur operators: the Amateur Extra class license. Such a license grants me operating privileges for all portions of the US amateur radio bands, and allows me to act as a Volunteer Examiner for all amateur license classes. By April 2023, I had learned enough technical skills to pass the exam and earn my Amateur Extra license.
Vice President of Case Amateur Radio Club W8EDU
2024-2025 School Year
I first became involved with the Case Amateur Radio Club W8EDU at the end of the Fall Semester 2022. From that point onwards, I was hooked on the hobby. I learned how to operate various radios, build antennas, and even began learning Morse code. By the end of the 2022-2023 school year, I wanted to give back to the club, and I had been nominated by my peers to the executive board for the club. In the end, I was elected to the Vice President position where I help to plan activities for our weekly operating hours and other club events.
Kit-Built Radios
2023-2024
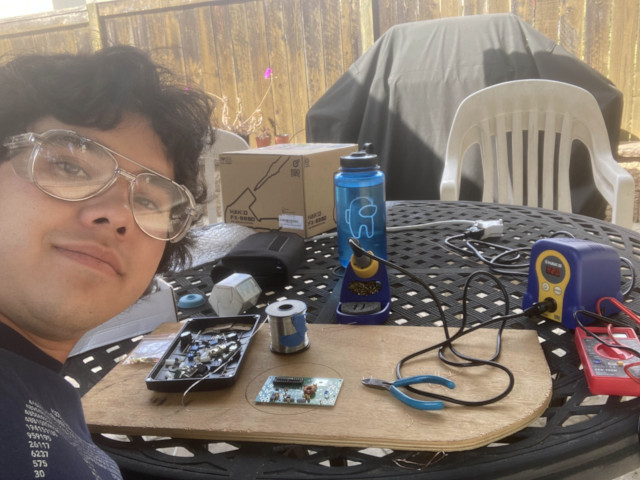
Most of my time spent operating radios occurs at the Case Western Reserve University club station in Cleveland, OH. During the summer, however, I live about 2,000 miles away in Southern California. In order to operate from home, I decided to purchase a couple radios to build from a kit. The first was the uBitx v6 all-band HF amateur radio transceiver which has open source hardware and firmware which makes it relatively easy to modify and experiment with. The other radio I built was the QRP-Labs QCX-mini CW transceiver for the 20-meter band. While it's limited to a single mode and band, it has a very compact size, which is nice for portable operation.
Designed/Built Custom Antennas
2023-Present
One of my favorite parts of amateur radio is designing and building custom antennas for various use-cases. I enjoy the blend between simple antenna designs like a dipole which can be predicted analytically (in a vacuum) and more complicated antenna designs which are more often described empircally. Like many engineering problems, all antennas are a compromise between cost, size, efficiency, and gain.
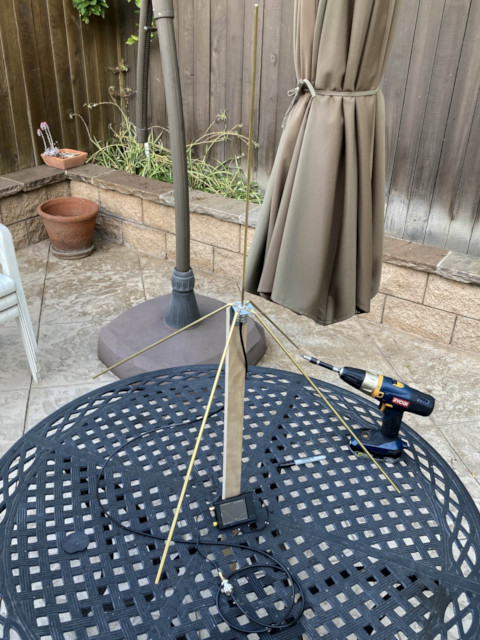
Pictured on the right is an antenna I designed and built for the CWRU Motorsports SAE Baja team. It's an omnidirectional quarter-wave groundplane antenna for the 2-meter band. The antenna is designed to be mounted on the top of the team's trailer during a competition, and needs omnidirectional coverage of the competition-site. As a result, a vertical antenna is perfect for the purpose, with the groundplane acting to electrically balance.
10wpm Morse Code Certificate
December 2023
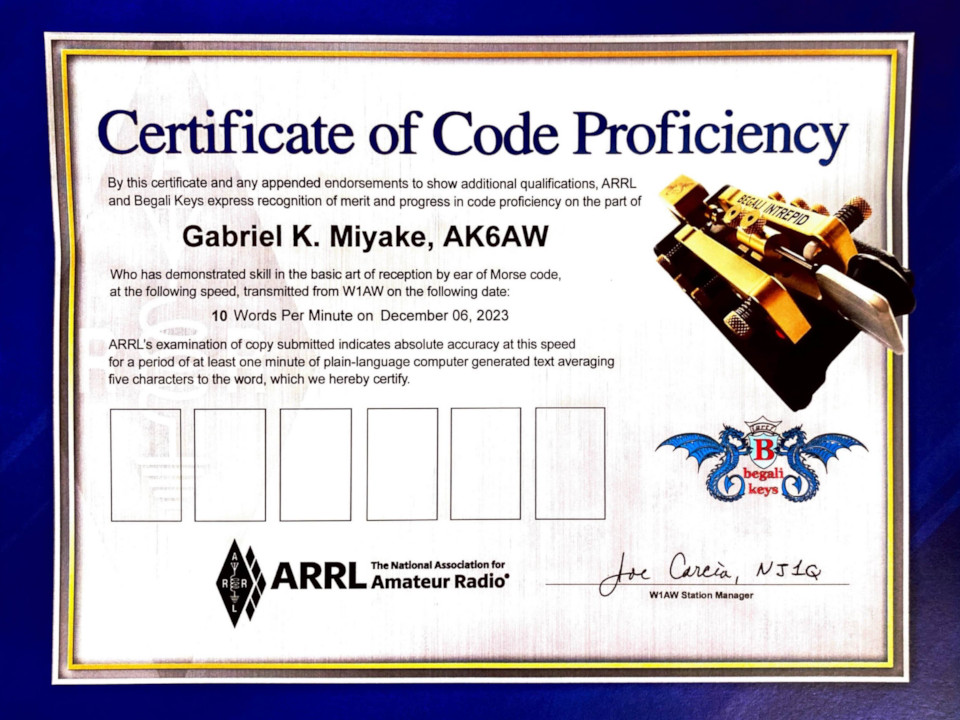
For the majority of amateur radio's existance, learning Morse code was a necessity to getting a license. But in 2007, the FCC eliminated the Morse code requirement for amateur radio licenses. Since I was licensed in 2023, I did not need to learn any Morse code to obtain the license. Despite that, I have a personal goal of being able to copy a Morse code message at 20 wpm – the old requirement for an amateur extra license. As the first step in this journey, I participated in one of the Morse code Qualifying Run transmissions from the ARRL station W1AW. After a few attempts over the course of a couple months, I finally succeeded in correctly copying 1 minute of Morse code transmitted over the radio at 10 words per minute.
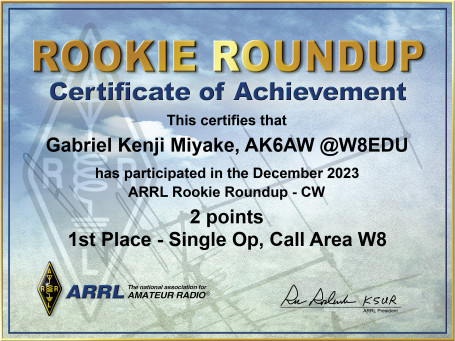
1st Place 2023 Rookie Roundup CW Contest (W8 Region)
December 2023
Shortly after I had tried the 10 wpm Morse code qualifying run, the faculty advisor for the Case Amateur Radio Club David Kazdan AD8Y informed me that there was a CW (Morse code) contest coming up soon. The Rookie Roundup contest is hosted by the ARRL and is targeted towards newly licensed Amateur Radio operators. The December variant of the contest specifies that only CW transmissions are permitted, which made it a perfect time for me to test my developing skills. During the contest, I only ended up making one contact with an operator in Alberta, Canada scoring 2 points. However, as I was the only entrant from the W8 region (Michigan, Ohio, West Virginia), I got a first place certificate!
Analog PhotographyReturn to top
Designed/Built Medium Format Pinhole Camera
October 2022
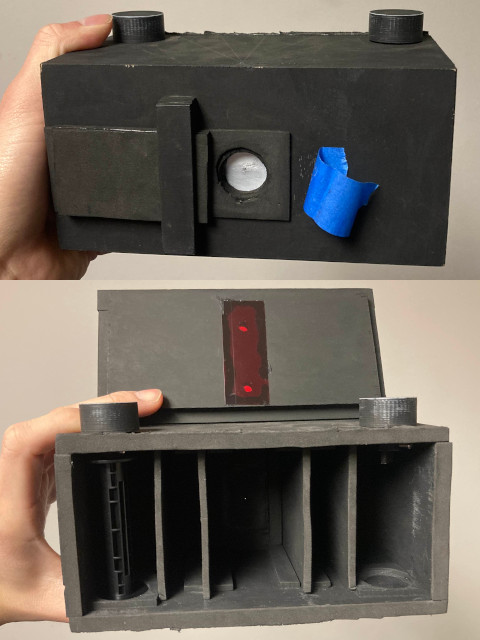
During my first semester of college, I began an interest in analog film photography—in particular, some of the methods used historically. Simultaneously, the on-campus maker-space think[box] provided (at the time) a free $50 worth of materials for new users of the space. Naturally, as any aspiring engineering student should do, I designed and built a medium format pinhole camera out of 1/4" and 1/8" plywood. The pinhole aperture is made from an aluminum soda can with a hole poked with a sewing needle. The camera is designed to produce either 6x9cm images or 6x4.5cm images depending on whether or not extra baffles are inserted into the camera. Based on the pinhole size and the focal distance, I estimate the aperture to be about an f/210.
I chose the 120 film format from 1901 for its larger size and ease in design compared to more contemporary 35mm film. While 35mm is more common, more compact, and less expensive than 120 film, I preferred to use 120 film for its ease in designing a film advancement mechanism. 35mm film uses sprocket holes on the edge of the film for advancement, which would require a more complicated mechanism to consistently advance the film. The older 120 film uses a backing paper with frame number markings. This allows for a simple manual film advancement mechanism and a small hole on the camera back for viewing the frame number markings. Additionally, the use of a pinhole lens has a physical limitation on the maximum image sharpness projected onto the film. As a result, a larger film format can be used to show more detail than a smaller film format.
Designed/Built Pinhole "Lens" for 35mm Camera
October 2024
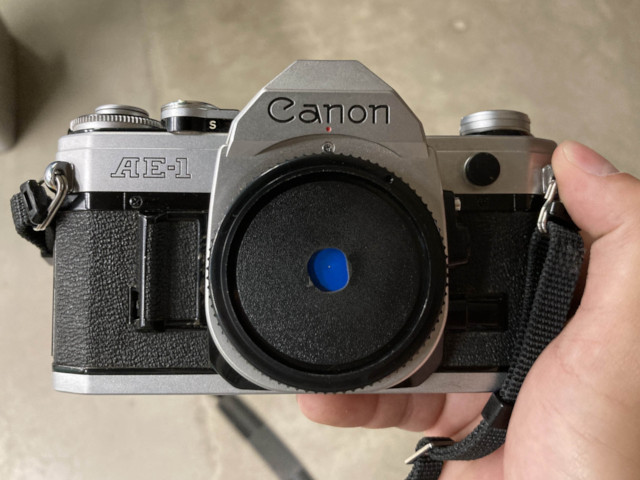
After having my fun with my homemade pinhole camera, I eventually decided to purchase a more "modern" 35mm camera: namely the Canon AE-1. While I had fun using its original 50mm prime lens and an aftermarket 28mm-85mm zoom lens, I was inevitably attracted back to a pinhole aperture. To make such an apparatus, I purchased a spare body cap for the camera and drilled a hole through the middle. This hole would be far too large to use as a pinhole aperture, so I then used the same technique that I used for my wooden medium format pinhole camera. I cut a small piece of an aluminum soda can to fit over the hole, and then I used a sewing needle to poke a pinhole sized aperture in the aluminum. Based on the size of the pinhole and the approximate focal distance from the film plane to the body cap, I estimate that the aperture size is about an f/180.
Black and White Darkroom
Fall 2024
As I became more comfortable with analog photography and developing film, I decided to take a darkroom photography class at my University. There, I learned how to make photographic prints using vintage enlarging equipment. I really enjoy the combination of history, chemistry, and analog appeal of making darkroom prints as opposed to digitally scanning the film and using a digital inkjet or laser printer. A personal goal of mine is to eventually design and build my own enlarger for making prints at home.
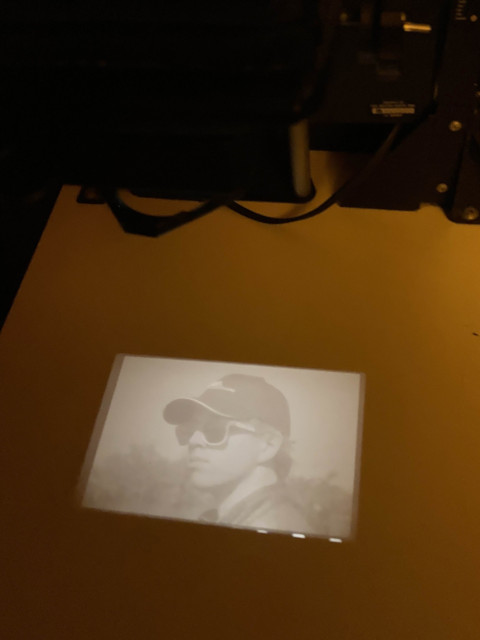
Black and White Reversal Film Developing
October 2024-Present
The typical method of developing film results in a negative image, meaning bright parts in the scene appear dark on the film and dark parts of the scene appear bright on the film. This is usually fine since it is easy to invert the image digitally or when making a print in the darkroom (which produces a negative image of a negative image). However, if I want to be able to use my film in a slide projector, I would need to have a positive image on the film itself. Consequently, I learned how to develop positive images through a black and white reversal process. My process is similar to the Ilford reversal process, but my bleaching solution is composed of a 2g/L solution of potassium permanganate as the solution A and a 25g/L solution of sodium bisulfate as the solution B. Solution A and solution B are still mixed in a 1:1 ratio when used. Additionally, I use Rodinal as both the first and second developer. Unfortunately, many of my positive images have come out very dense with silver. I have been using Kentmere Pan 400 film which I suspect needs some amount of sodium thiosulphate crystals in the first developer to get a better positive slide. I need to do more experimenting to find the optimal dilution of the Rodinal and optimal amount of sodium thiosulphate to add.
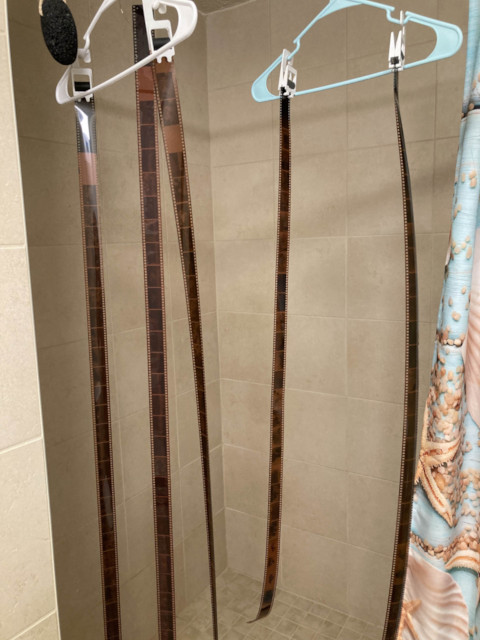
Color Film Developing
September 2023-Present
After figuring out how to do black and white negative developing fairly consistently, I decided to try out color C-41 process film developing. Black and white negative developing is a relatively simple 3 step process: develop, fix, and rinse. On the other hand, color C-41 developing is more complicated process: develop, bleach, wash, fix, and rinse. Additionally, the C-41 process is more temperature sensitive during the development than black and white. For black and white, temperature variations only change the speed of development, which can be accounted for by adjusting development time. However, color film consists of three separate color sensitve layers for red, green, and blue light. During development, temperature variations affect the development speed of the three color layers slightly differently, which can result in color shifts if the temperature is not properly maintained. During development, I keep the chemistry bottles in a water bath heated by a thermal immersion circulator (like those used for sous vide cooking).
Other ProjectsReturn to top
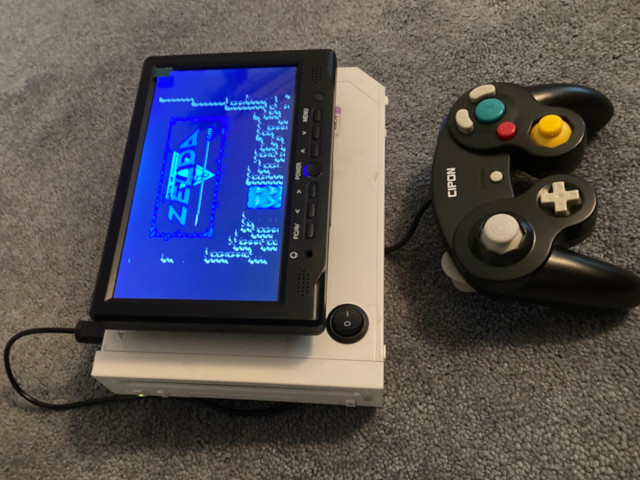
Portable Nintendo Wii
Summer 2022
On the internet, I had heard that it was possible to modify an old Nintendo Wii console and make it into a portable, handheld gaming device. In particular, I remembered a YouTube video by Linus Tech Tips showing a Nintendo Wii's motherboard being trimmed to a fraction of its original size and relocating various components to make a functioning Nintendo Wii in the form-factor of an old-school Game Boy. I thought the process seemed really cool, so I decided to undertake such a challenge myself. The original kit used in the YouTube video had been discontinued, so I was left trying to research how to do the project without a kit. The BitBuilt forums have a very informative guide for trimming the Wii's motherboard and detailed schematics for the pinout of various components. For my portable Wii, I chose not to trim the motherboard and instead chose to make the console portable while retaining the console's original outer shell. I removed the disc drive and GameCube memory card ports, and I replaced them with a battery, charging port, and a battery level indicator. On the side of the console, I cut a hole to pass video and audio data through to an LCD screen which was later bolted to the side of the console. Lastly, I added a power switch to disconnect the battery from the console. The Wii retains almost all of its original functionality with WiFi, Bluetooth for the original Wiimote controllers, and ports for GameCube controllers.
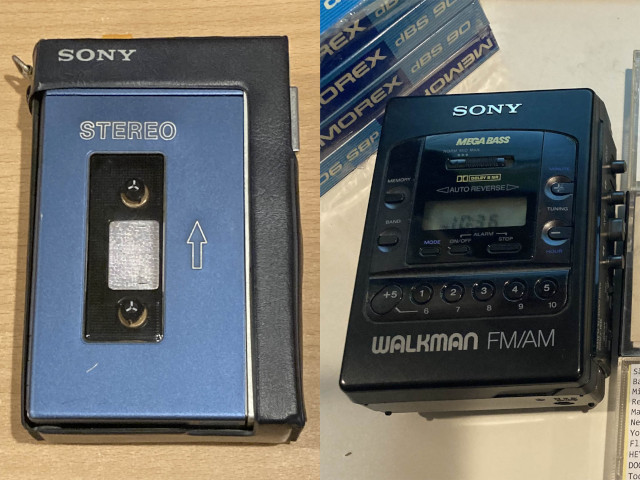
Repaired Sony Walkman
December 2020
While my parents were doing some cleaning around the house, my mom found her old Sony Walkman (with FM/AM radio) from the '80s (pictured right). I thought it was pretty neat, so we decided to check if it still worked. Unfortunately, the sprocket and capstan wheels refused to turn when the play button was pressed. Luckily, much of the electronics were still functional since the clock and radio still worked. Additionally, I could hear the motor spinning inside when play was pressed & it was just the sprocket and capstan wheels not spinning with the motor. This led me to believe that the problemw as likely a worn, stretched, or damaged belt. Opening up the Walkman, I found that the belt was in fact the problem: it had basically melted and turned into a goo over the decades in storage. I found a manufacturer in the Ukraine who still makes new belts for a wide variety of vintage audio equipment, so I purchased a set of new belts for the Walkman. After that, the cassette player worked perfectly, and I was able to listen to my favorite mix tapes on the go!
Later, my dad found his old Sony Walkman TPS-L2 from Japan (pictured left). It had a similar problem to my mom's & the belt was stretched and no longer functioned. Replacing the belt was enough to make the sprocket and and capstan spin. However, another problem arose with the friction clutch slipping under load. Luckily, a little bit of cleaning for the friction clutch made the sprocket spin much better under load.
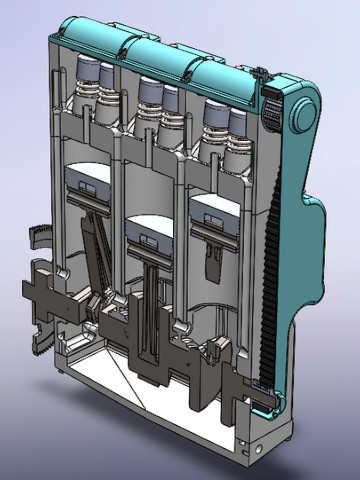
Motorcycle Engine Design Class
Fall 2024
The "Design and Manufacturing II" course at CWRU acts as a senior capstone design course for mechanical engineering students. I worked with a team of 10 undergraduate students to design a motorcycle engine based on a series of customer requirements provided by the professor. The engine needed to fulfill a series of realistic constraints such as: economic, environmental, social, legal, health and safety, manufacturability, and sustainability. I took part in the systems integration subteam where I ensured that the mechanical design of the engine matched the parameters of our thermodynamic mathematical models. In doing so, I needed a strong understanding of both the mechanical design and the thermodynamic design of the engine to ensure that the two sides remained compatible with each other throughout the design process.
